
Texturing in Virtual Reality
Procedure for 3D Mushroom Modeling, UV Unwrapping, and Texture Painting
This guide details the creation of a 3D mushroom model using Blender (version 4.2 or later), covering 3D modeling, UV unwrapping, and texture painting. Each phase includes before-and-after descriptions, step-by-step instructions, and troubleshooting tips. Visual placeholders represent images showing vertices and faces for modeling, UV maps, and textures.
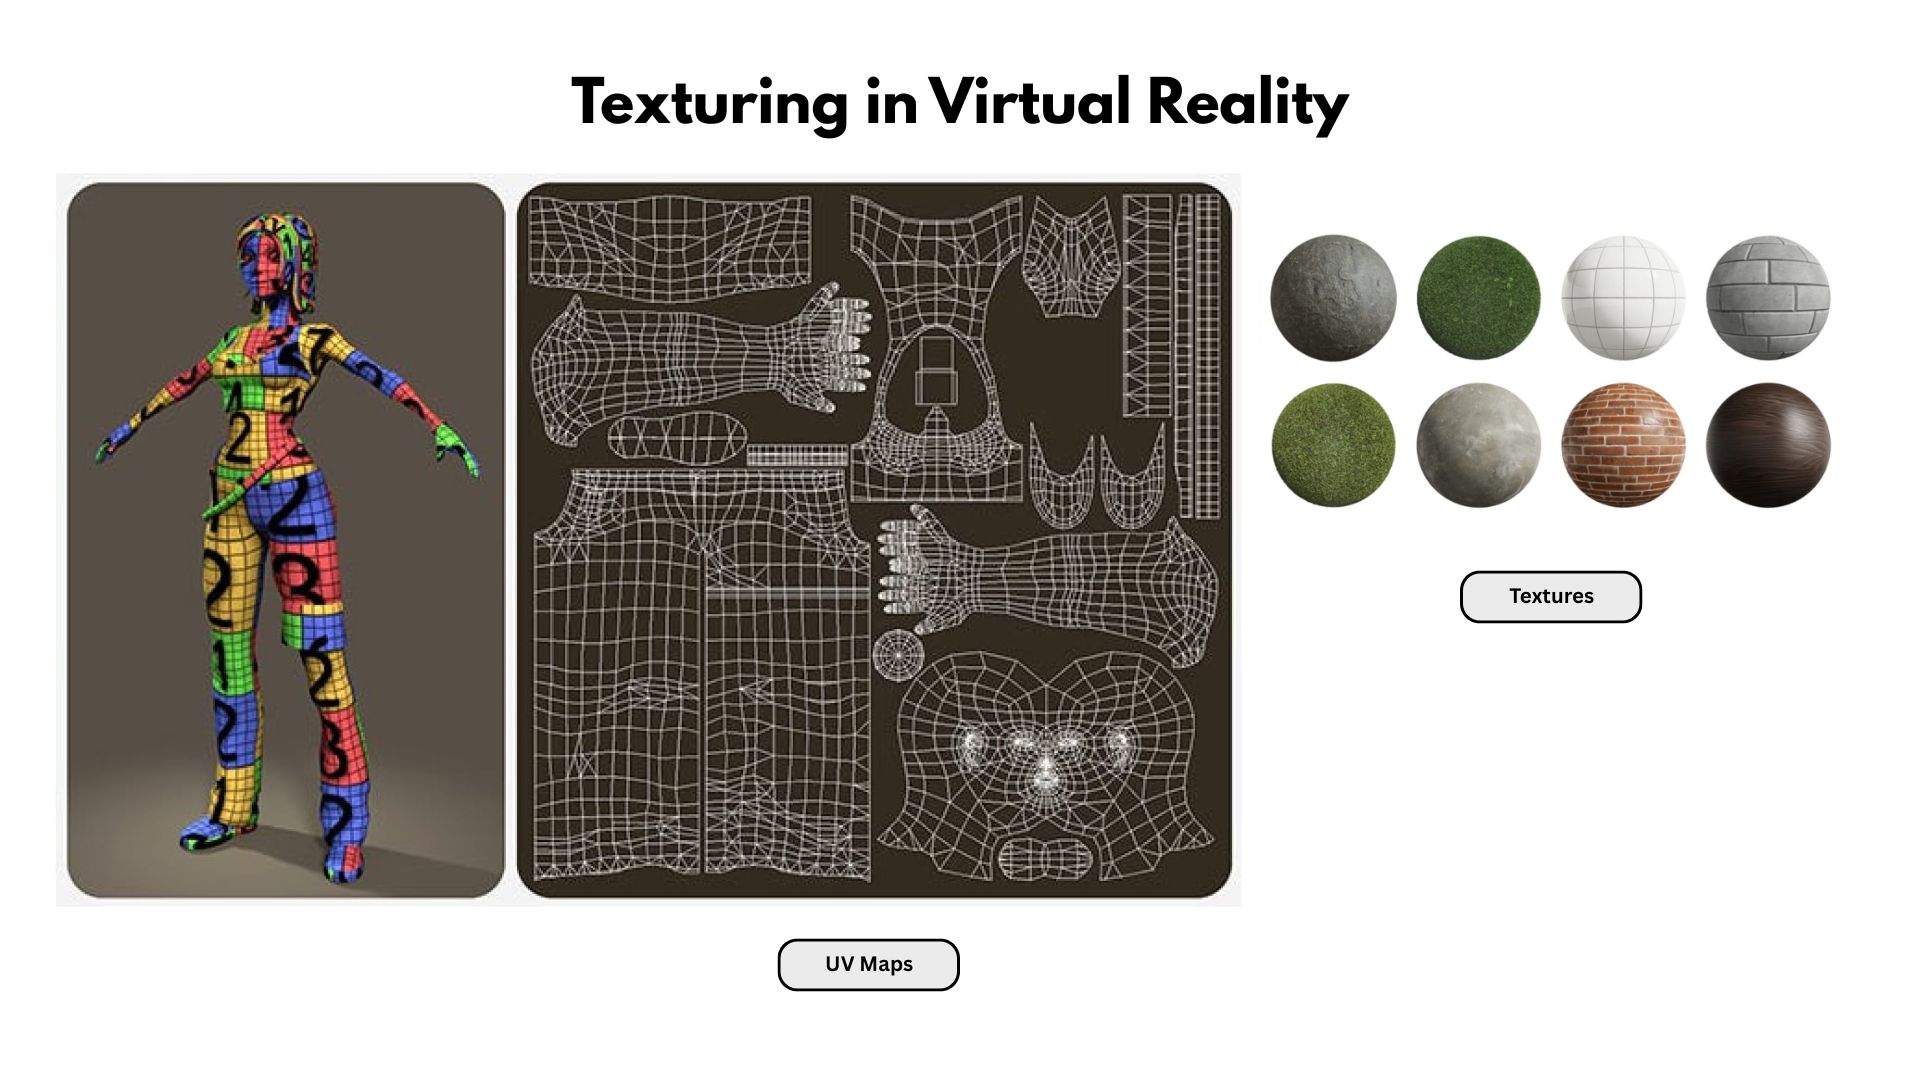
Img. 1: Textures in Virtual Reality
1. 3D Modeling
Create the basic geometry of the mushroom using primitives, sculpting, and vertex/face editing.
Before Image: A blank Blender scene with the default cube deleted, showing an empty grid.
Unfinished Image: A midway point with a merged sphere (cap) and cylinder (stem), rough proportions, no details like gills or spots. Wireframe shows ~200-300 vertices and quad faces.
After Image: A fully modeled mushroom with a bulbous cap, textured stem, and organic details. Wireframe in edit mode shows ~1,000+ vertices and mostly quad faces.
Steps:
- Open Blender, create a new scene, and delete the default cube (select, X > Delete).
- Add a UV Sphere (Shift+A > Mesh > UV Sphere) for the cap. Scale non-uniformly (S > Z to flatten) for a mushroom shape.
- Add a Cylinder (Shift+A > Mesh > Cylinder) for the stem. Move below cap (G > Z) and scale (S > X/Y for thickness).
- Merge objects: Select both (Shift+click), join (Ctrl+J). In Edit Mode (Tab), merge overlapping vertices (M > By Distance).
- Sculpt details: In Sculpt Mode, use Draw brush for cap bumps and Smooth brush to refine. Enable Dyntopo for dynamic topology if needed.
- Check topology: In Edit Mode, enable wireframe (Viewport Overlays > Wireframe). Ensure mostly quad faces. Add edge loops (Ctrl+R) for control.
- Apply Subdivision Surface modifier (Ctrl+2) for smoothness, but keep non-destructive.
Troubleshooting:
- Blocky/low-detail model: Increase subdivision levels or add vertices (Ctrl+R). Work low-poly first if performance lags.
- Vertices won't merge: Apply scale (Ctrl+A > Scale) and unhide geometry (Alt+H).
- Asymmetrical shape: Use Mirror modifier or sculpt with X-axis Symmetry enabled.
2. UV Unwrapping
Flatten the 3D model into a 2D UV map for texturing, minimizing stretching and seams.
Before Image: The modeled mushroom in 3D view, no UV map. UV Editor is empty or shows a messy default unwrap.
After Image: Clean UV layout in UV Editor—cap as a circular island, stem as a rectangular strip. No overlaps, efficient packing, seams marked red on 3D model.
Steps:
- Select the model, enter Edit Mode (Tab). Mark seams (Ctrl+E > Mark Seam) on edges (e.g., stem length, cap underside).
- Unwrap: Select all faces (A), then U > Smart UV Project (or Unwrap for control) to flatten with minimal distortion.
- In UV Editor (Window > New Editor > UV Editor), arrange islands: Move (G), rotate (R), or scale (S) to pack without overlaps.
- Check stretching: Apply checker texture (Shader Editor > Image Texture > Checker). In Texture mode, adjust seams if checks distort.
- Optimize: Use UV > Average Island Scale, then Pack Islands for efficient layout.
- Export UV layout if needed (UV > Export UV Layout) for external painting.
Troubleshooting:
- Stretched textures: Add more seams or try U > Project from View. Ensure seams split high-curvature areas.
- Overlapping UVs: Manually adjust islands in UV Editor or re-unwrap with different settings.
- Seams visible in texture: Minimize seams in low-visibility areas (e.g., underside) or adjust texture in painting phase.
3. Texture Painting
Apply colors and details to the model using the UV map, creating a realistic mushroom texture.
Before Image: The mushroom with a plain material or checker texture, no color details. UV Editor shows the clean map from previous step.
After Image: A fully textured mushroom with a spotted cap (e.g., red with white spots for an Amanita-like look) and a fibrous stem. Texture map in UV Editor shows painted details.
Steps:
- In Material Properties, add a new material. In Shader Editor, add Image Texture node, create a new 2048x2048 image, and link to Base Color.
- Switch to Texture Paint mode. In UV Editor, ensure the UV map is visible and aligned with the image.
- Paint: Use brushes (e.g., Draw brush) to add base colors (brown for stem, red for cap). Add details like white spots or gills using smaller brushes.
- Use stencils or masks: Import a reference image (e.g., mushroom photo) as a stencil for accuracy (Texture > Stencil).
- Adjust settings: Enable Bleed in Paint settings to avoid edge seams. Use Normal Map painting for bumps if needed.
- Save the texture (Image > Save As) as a PNG for export or reuse.
- Test in render view (Eevee or Cycles) to check lighting and texture appearance.
Troubleshooting:
- Texture blurry: Increase texture resolution (4096x4096) or paint finer details. Check UV map scaling.
- Seams visible: Paint over seams in Texture Paint mode or adjust UV map to hide seams better.
- Colors look flat: Add a Roughness or Normal map in Shader Editor for depth. Use PBR textures for realism.
Final Notes
- Save frequently and use incremental saves (File > Save As > +) to avoid data loss.
- Test renders at each stage to catch issues early.
- For advanced realism, add subsurface scattering to the material for a softer, organic look.
- If generating images, confirm style (e.g., realistic, stylized) and software (Blender, VR texturing tools).